Just ran across a issue when creating a new ASP.NET Core project and upgrading to the 1.1.0 Nuget packages. When trying to build I would get this error:
To resolve I opened the project.json and found in the dependencies:
I have come across this problem every time Microsoft release one of their bigger “update”. I go to open say “Redbull TV” click on a video and normally get a generic “playback failed” error.
That’s not a very helpful error!
This happens because i’m running a “N” or “KN” version of windows which I believe doesn’t ship with media stuff because Microsoft got told they shouldn’t in Europe. Sadly to fix it you have to download a “Media pack” after each update. A really useful link can be found here:
This lists which “Media pack” you will need for your version of Windows. Proceed to download and install the one that relates to you (installing one for a older Windows version will feel like it has installed but playback will still not work) and you should now have video playback in Store Apps.
To find out your “version” on Windows 10 go to Settings > About.
This is a nasty issue for users as the errors are useless, Microsoft keep releasing updates that remove the media pack forcing the user to re-download it again and worst of all it shouldn’t even be a thing! I hate to say it but you don’t have to jump through these hoops on iOS or Android.
Hope this helps, any questions just leave a comment.
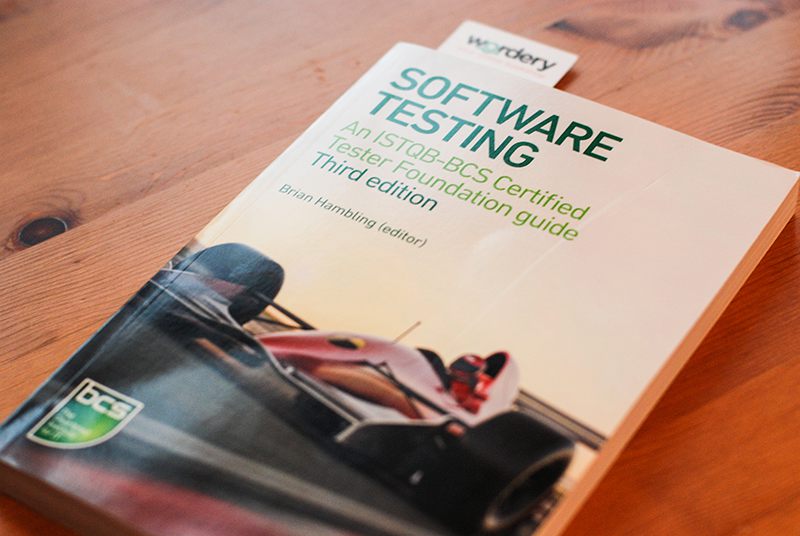
I had decided it was time to learn a bit more about Software Testing with the aim of improving my own software quality. The book I decided to read for an overview was Software Testing: An ISTQB-BCS Certified Tester Foundation guide. The book acts as a guide to a certification that the BCS offer so it would likely supply a good overview of the field.
This book makes no assumptions about its audience and therefore I don’t feel that you need any background in software or testing to get something out of it. If anything I was impressed at the pragmatic insights the book made, clearly showing that it had been written by people who have experience in testing within a wide range of different sized businesses. An example of this would be how the authors have awareness that the task of testing can often get passed to other members of the team when a dedicated tester isn’t present.
I was also impressed by how the book starts by setting the expectation that its impossible to catch all errors therefore its important to focus testing based on risk to do an effective job within the limited time and resources.
I felt that the book and most likely the field of software testing itself has a lot of overlap with other disciplines within software such as project management, systems analysis etc. So if you already have some background in software you are likely to be scanning through some parts of the book, although these do act as a good refresher.
A recommendation the book made which caught my eye was that it recommended external contractors for testing because of their independence from the project and team. This to me reinforced my thinking that a testing consultancy would be a great opportunity to start for the smaller digital agencies who don’t have the level of work load or resources to have a full-time or even part-time tester as part of the team.
Another important message the book conveyed was the importance of testing as early as possible suggesting that finding an error at the requirements stage is a lot more cost effective than at any later stage referred to as the “cost escalation model”.
I found it a little disappointing that the tooling support section did not give links to examples of tools that the reader could then go and investigate to get a better idea of how they work. I do understand that it might have been out of scope of the certification but I believe it would help.
Summary
Weighing in at around 250 pages this offers a good overview of testing which I would recommend to anyone in software, more so for those who don’t currently have a formal testing procedure. As a developer myself I felt it give me a better understanding of testing that I could either implement myself on smaller projects or help support in larger projects. From my own experience just knowing the difference between simply retesting something and performing regression testing has been a help regardless of the size of the project. It has also enabled me to focus on risk when decided what should be testing and how that should be tested.
I found that even with the BCS member discount, this was still way cheaper on Amazon or Wordery.